Slipcovers by Shelley

  • home
  • About
    • About Me
    • Contact
  • Tutorials
  • Pricing
  • Slipcover Process

Chairs, Ottomans, and Dining Chairs

March 14, 2014 by Shelley

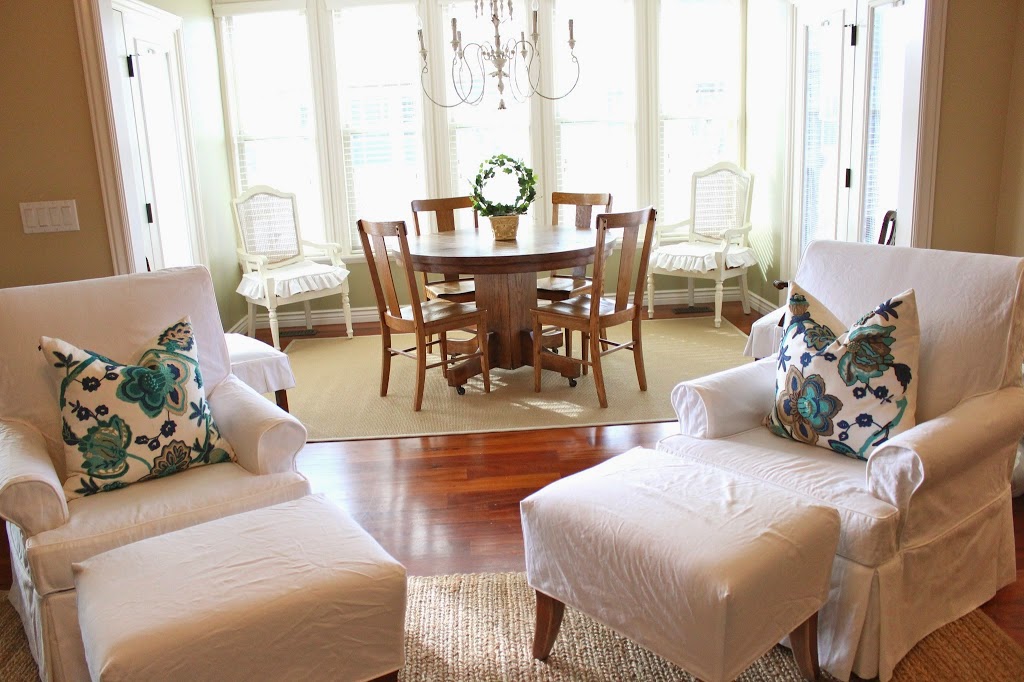
My client picked up these two chairs and ottomans for $25/pair. They were from a Marriott Hotel that was replacing their furniture. WHAT A DEAL!!! She chose a white duck cloth to freshen them up.

 Chair/ottoman—BEFORE

AFTER– 

Close up of arm

I loved her antique round table and chandelier! I love rustic wood pieces. The white contrasted nicely!

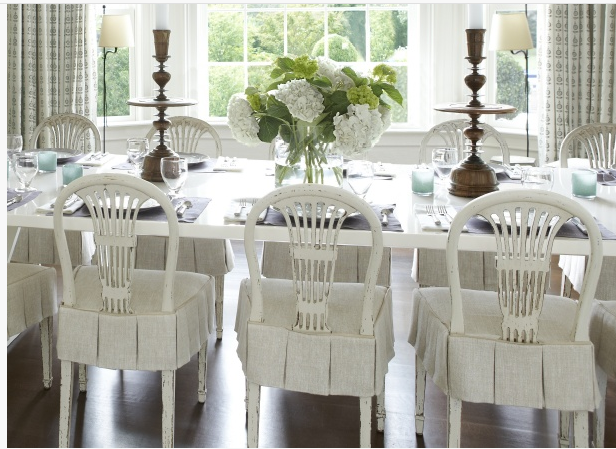
We also did 2 arm chairs and 4 side dining chairs. These required some thought… she sent me an inspiration pic, so I knew it was possible, I just had to figure out how to get a skirt on the back with the wood piece down the center of the chair.

INSPIRATION PIC–


AFTER–SIDE CHAIR–my solution was to run the piping on the outside of the posts, attach skirt to piping. Then use velcro to attach the sections to either side of the vertical wood piece.

AFTER–Arm chair–same idea–velcro around the outside edge, but I had to do velcro along the sides as well between the back post and where the arm attaches to the seat. This way once the velcro is detached, the whole cover lifts up and over the wood back.

SIDE NOTE– Brainstorming some new ideas. I am located in Utah.

1) 2 day workshop— day1- slipcover main body of a chair
                                  day2- skirt, cushion, and pillow. 4-6 students/session

2) Job shadowing- come to work with me at my studio for 3 days (slipcovering, appts out, photography, blog, quickbooks, etc) 2-3 students/ session. This would be geared towards someone that has already started or wants to start a slipcover business.

3) Skype mentoring–sign up for the day you have a similar item and follow along in real time.

Tell me your thoughts! What interests you the most, and what would you seriously consider signing up for?

Photobucket Photobucket get it covered photo coveredbutton.jpg the whole 9 yards photo whole9yards.jpg

Filed Under: box pleat skirt, chair, dining chair, ottoman, white duck cloth

Topstitched White Linen Couches

March 6, 2014 by Shelley

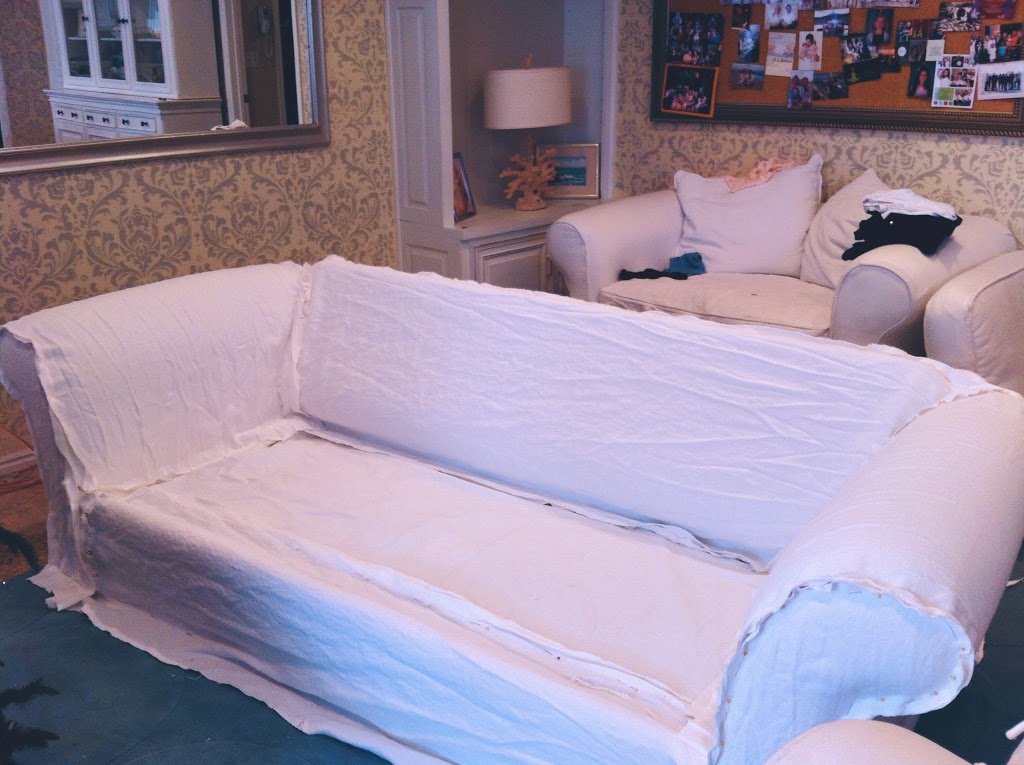
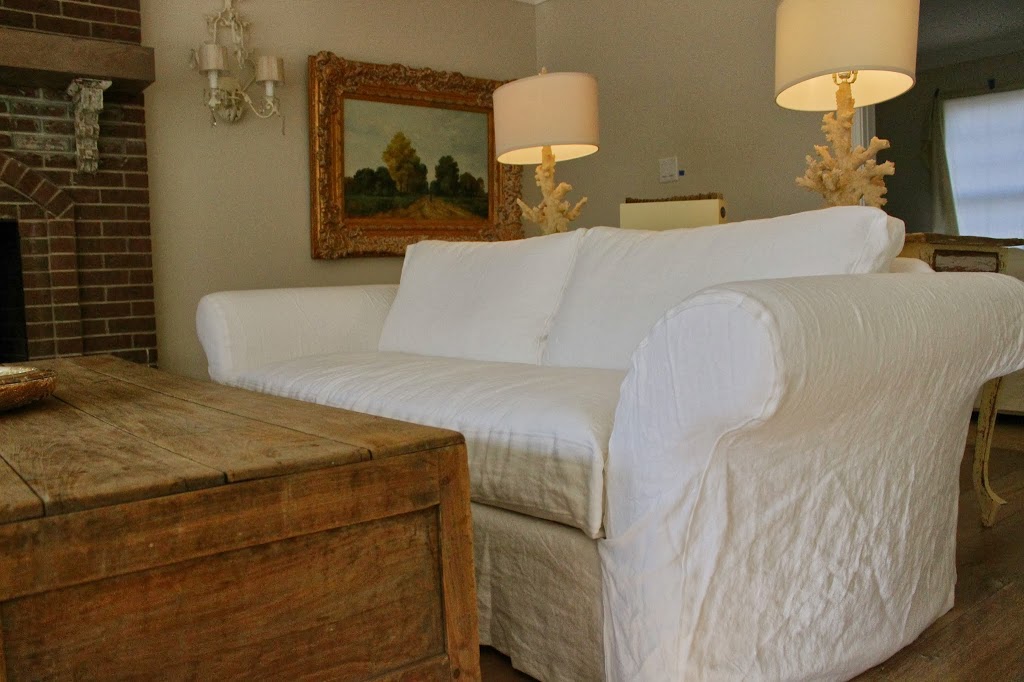
When I came for the fitting appointment, my client was in the process of moving and remodeling their new place.  The before couch was a white denim slipcovered couch with piping, two seat cushions, and 5 pillows along the back. Karen decided she wanted a bit more of a modern look—no piping and no skirt. Just a single row of topstitching on each seam.
BEFORE—well somehow I didn’t get a before pic, but this was during the fitting.

 AFTER–These are the two couches in my clients new home. I dropped off her slipcovers in bags right before I left for Costa Rica, and she was moving the next week–so I didn’t get to put them on for her. When I came after my trip to bring back another project, she already had them all put on and had been living on them for a few weeks. I was BLOWN AWAY at how amazing her new house looked! It was a construction site the last time I had seen it.

 She ordered a new single seat cushion (used to be 2 seat cushions) and two back cushions (used to be pillow back) to streamline the look of the couch as well.

 I love her HUGE coffee table from CJ Sparks. I love mixing rustic with new.

 Topstitching detail

Photobucket Photobucket get it covered photo coveredbutton.jpg the whole 9 yards photo whole9yards.jpg

Filed Under: Uncategorized

Gray/Yellow Bedroom Chair and Ottoman

February 26, 2014 by Shelley

My client had this great comfortable chair and a mismatched  cheetah ottoman. She wanted to redo them so they’d match her newly decorated bedroom—which is BEAUTIFUL!

 Chair—BEFORE

 Chair–AFTER- She told me to do it however I thought was best. With the large print, I didn’t want to break up the pattern, so I decided to do a waterfall skirt.

I loved all her bed pillows–eclectic and no two are the same.

Of course there was matching involved.

 I love how bright and airy the room looks.

 She also had 2 scrolled back parson chairs for her desk area.  I chose to keep it tight around the front and a waterfall skirt in the back to keep the pattern from being broke up. Plus we were limited on fabric. 3 1/2 yds per chair with that large repeat.

I had to do seams down the front corners, because the fabric wasn’t wide enough to make it all the way around. Blind hem around the bottom.

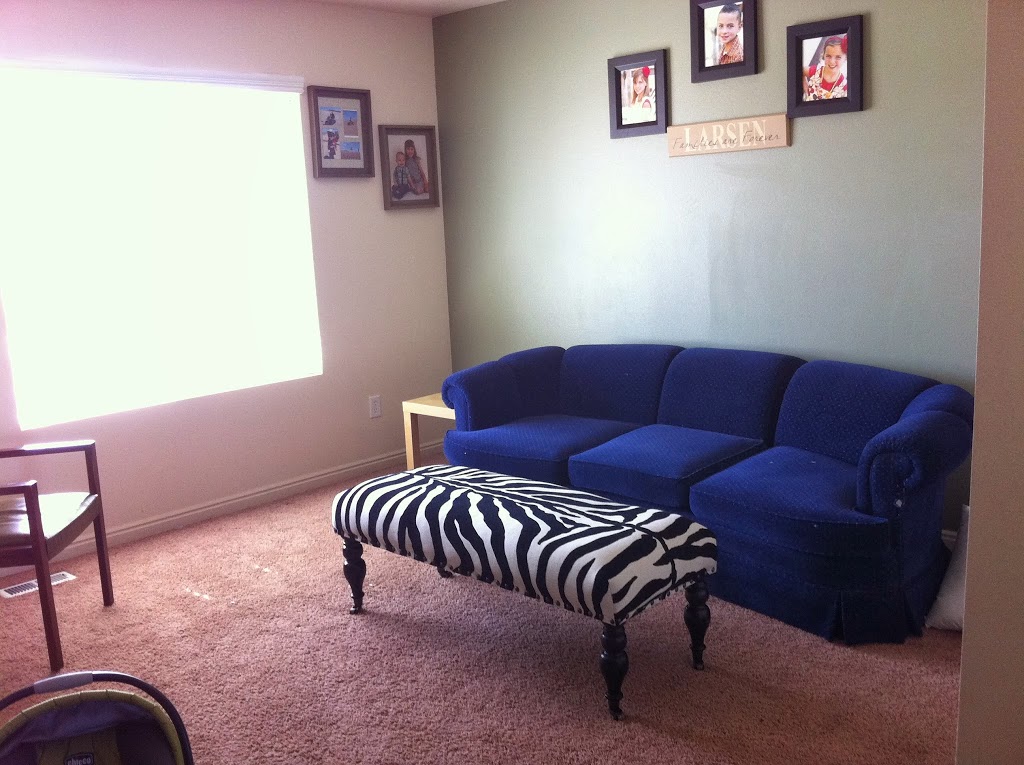
SIDE NOTE #1- Brooke’s front room is coming along, we purchased all our main pieces off www.ksl.com, used of course– we moved everything in, so I could get the scale and vision what else we need. We also ordered curtain and pillow fabric. I am super excited, but now we have to wait a week for the fabric to arrive.

 The green wall will be painted white to match the other walls, and we are hoping to do a large mirror over the couch.


Curtain fabric—we wanted a pop of yellow in the room.

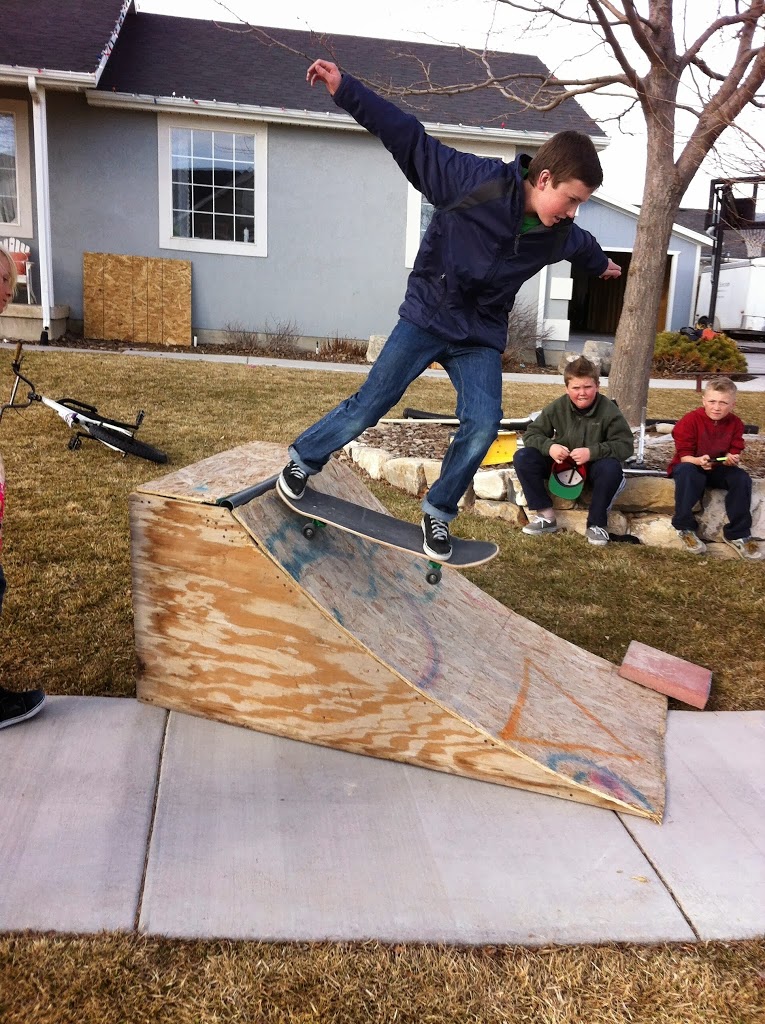
SIDE NOTE #2– It feels like spring here in Utah! I know everyone else is taking the brunt of the winter for us. We are enjoying 50-60 degree days in FEBRUARY!!! Normally we are in the 30’s.

 My boys have been busy making ramps and skateboarding out front with all the neighbor boys.

Photobucket Photobucket get it covered photo coveredbutton.jpg the whole 9 yards photo whole9yards.jpg

Filed Under: matching, ottoman, waterfall skirt

  • « Previous Page
  • 1
  • …
  • 22
  • 23
  • 24
  • 25
  • 26
  • …
  • 107
  • Next Page »
  • 
  • 
  • 
  • 
  • 
  • 

Copyright © 2025 · Custom Slipcovers by Shelley