Slipcovers by Shelley

  • home
  • About
    • About Me
    • Contact
  • Tutorials
  • Pricing
  • Slipcover Process

Slipcover Workshop

February 25, 2015 by Shelley

slipcoverworkshop
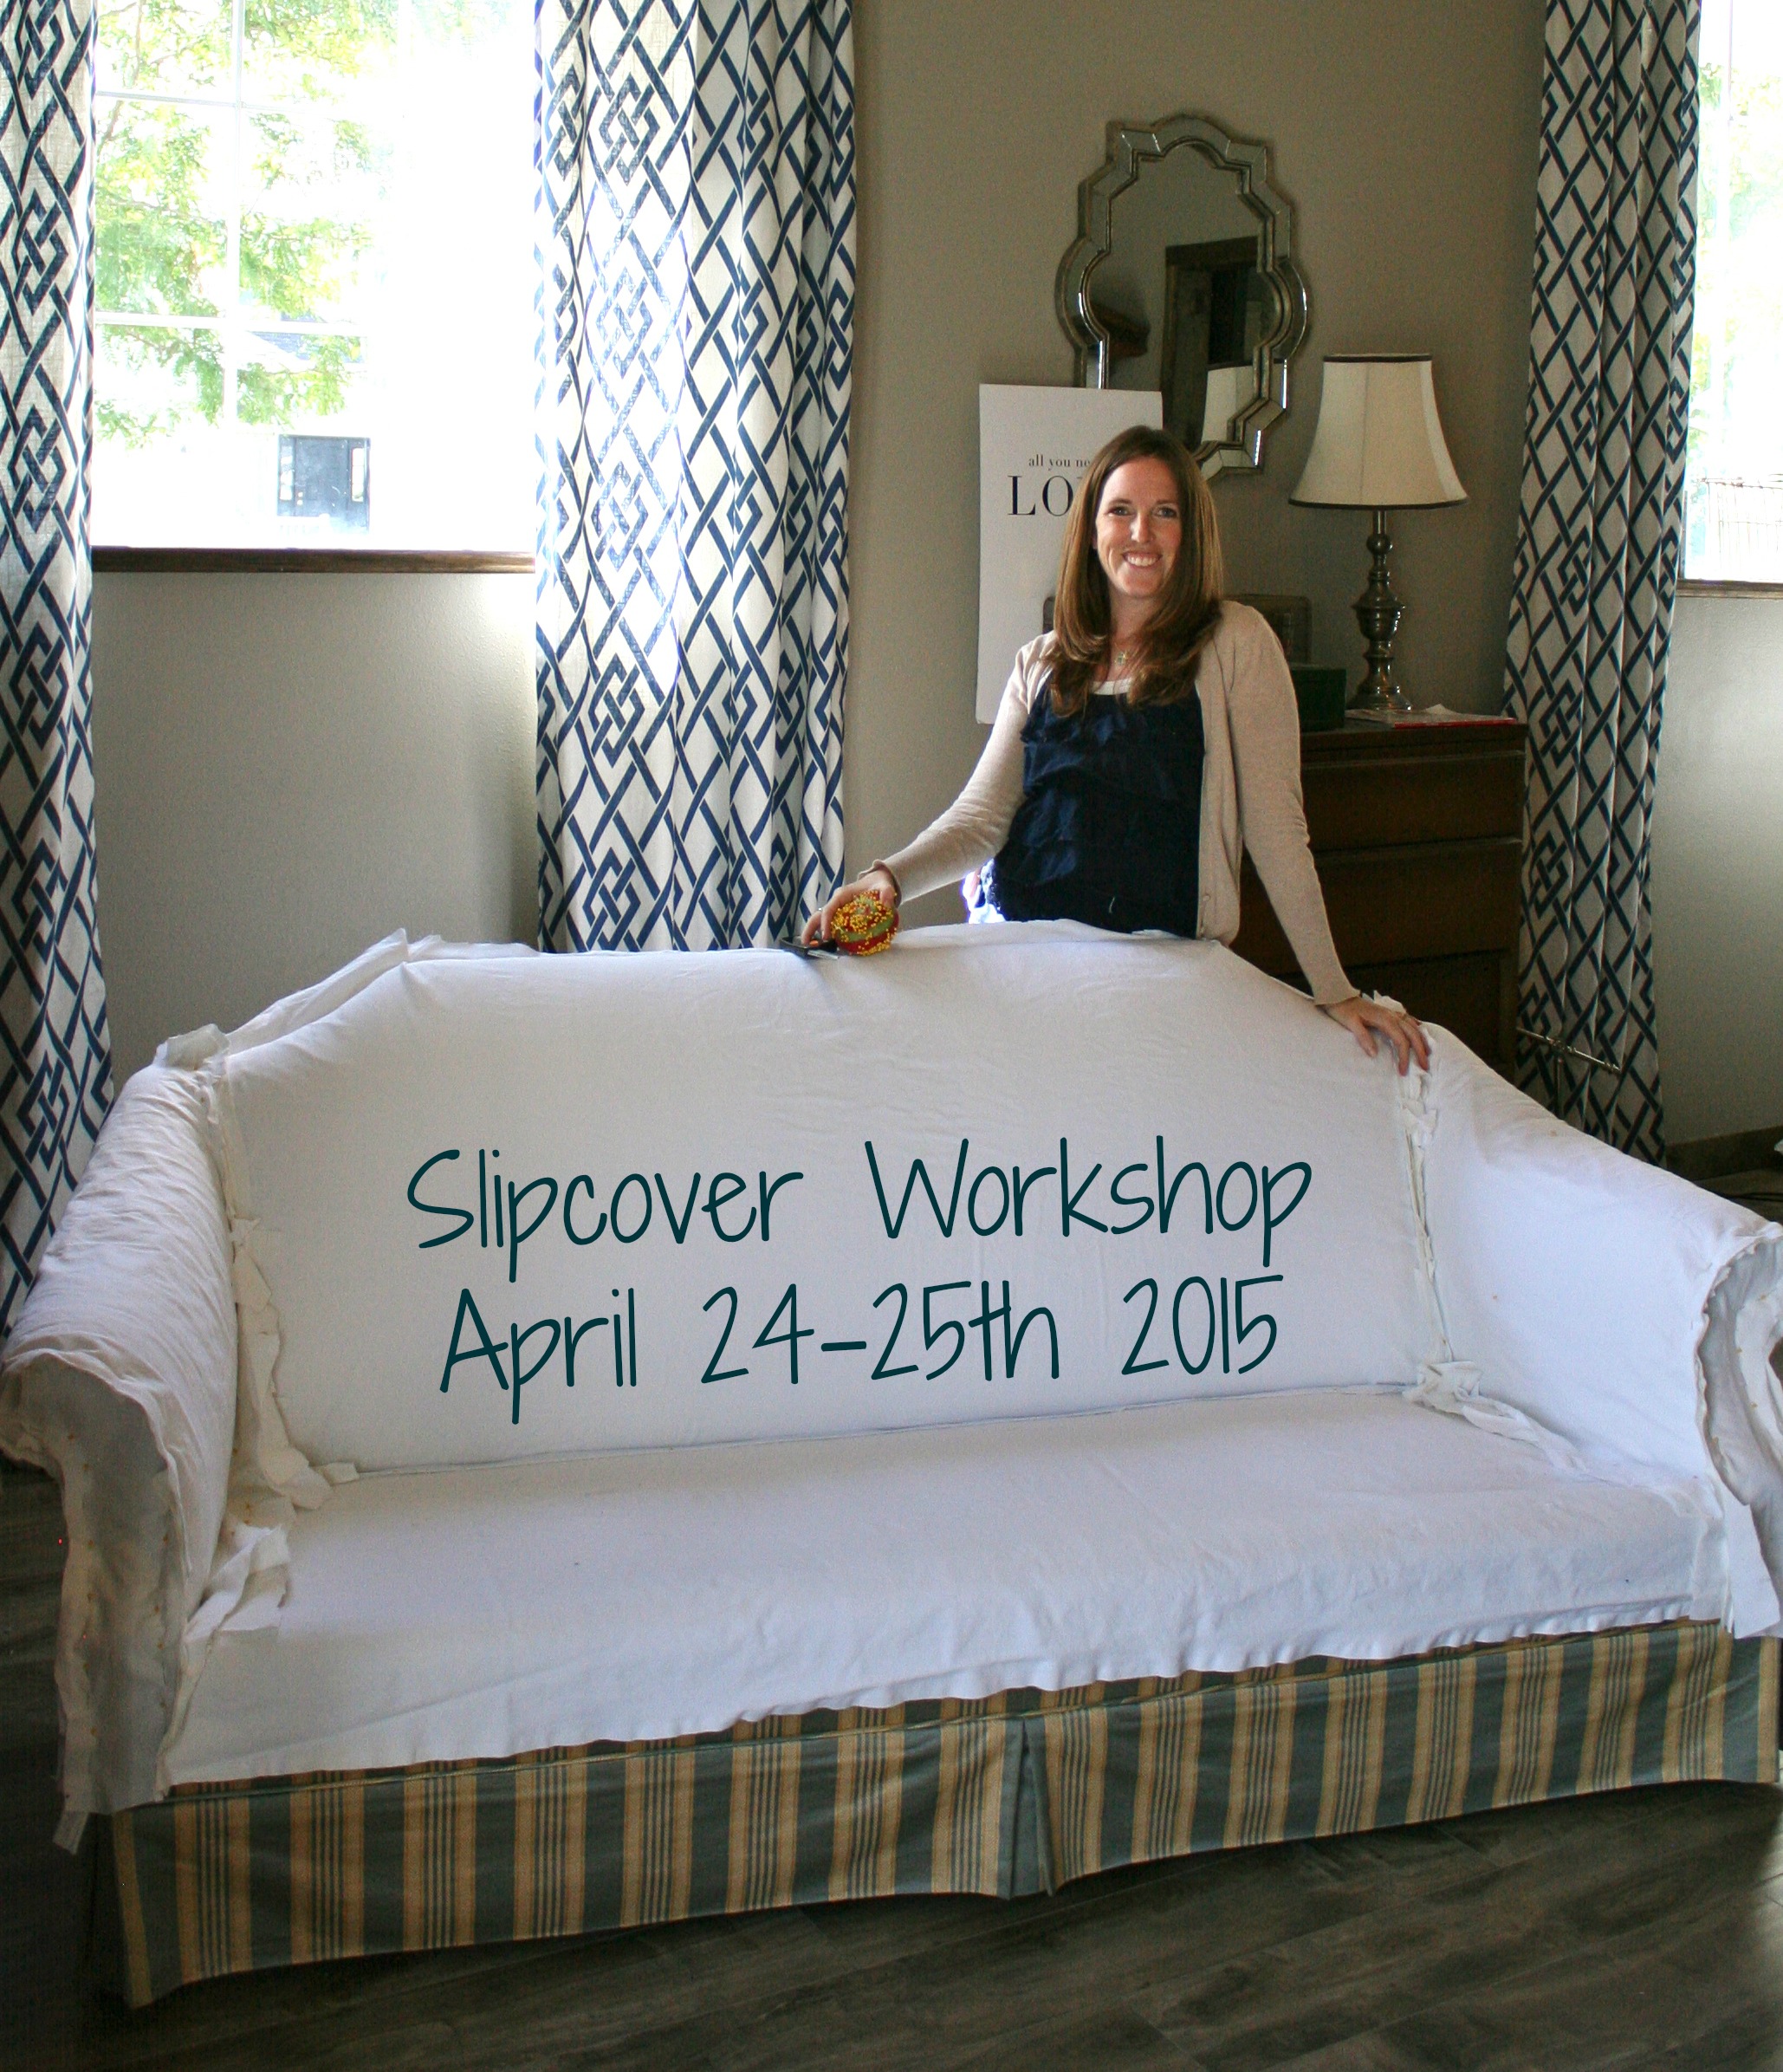
I am so excited to be offering my first hands on slipcover workshop!

I have 15 years of slipcovering experience and would love to show you some tricks of the trade, whether you are interested in making your own slipcovers or aspire to start your own business at some point.


DETAILS

*April 24-25th 2015 (2 day workshop–to ensure everyone isn’t rushed and has time to finish their project)

*9:30am-3:30/4pm both days

*Bring a chair, pre washed fabric, thread, tape measure, scissors, quilting pins, and sewing machine with zipper foot (If you are flying in from out of state, I will provide chair and fabric for you)

*I”ll supply piping, zippers, and serger

*1st day–sew piping, pin fit, and sew main body

*2nd day–add skirt detail and sew box cushion, and if we have time we’ll make some pillows.

*Class sized capped at 4 spots


COST

$250 (Includes lunch both days)


LOCATION

On site at my work studio in Eagle Mountain, UT


What you will gain from this experience

-Basic slipcovering skills

-Learn how to make piping, install zipper with ease, and complete your 1st slipcover

-Skills to recover your own stuff over and over to your hearts desire


*Workshop is for beginner to intermediate sewers–you need to be familiar and comfortable with your machine and have basic sewing skills.

*My cabin is available for overnight guests at no extra cost. 1hr 15min away.

*Please email me to secure your spot. $250 will be due via paypal (heberj1@yahoo.com) to confirm your reservation. Non-refundable.  The Workshop is full! Email me if you are interested in attending a future workshop.


Filed Under: decorating, tutorial

Painted Kitchen Cabinets and Backsplash

October 29, 2014 by Shelley

I’ve been wanting to update my kitchen for the past 6 months, but felt tied into my granite and backsplash. I thought about refacing the cabinets ($4-$5,000) and when I looked into it I really liked the grey cabinets–then I thought if I want grey, why don’t I just paint them again? Then my Better Homes and Gardens Magazine came last Saturday…found my INSPIRATION PIC!!!

photo-15INSPIRATION PIC

Originally  I thought would love to do white cabinets–but realistically with my 3 boys and all the neighbor boys–they would be gross in 1 day! I loved the idea of doing grey lower cabinets and I could get away with doing white uppers (my top cabinets don’t get as gross as the lower ones)–you know with my boys making cookies and brownies all the time. So I was sold on the cabinet colors, but the backsplash was killing the whole vision! Then I thought–just paint the travertine tile! It’s porous enough and will take the paint–what have I got to lose? If I hate it–maybe I can sand it off???

photo-13My BEFORE!! Cream antiqued cabinets that I painted this way 9 years ago. Oil rubbed bronze hardware and travertine backsplash.


photo-14Keeping it real…BEFORE
IMG_3677AFTER!!! I chose a brownish grey that would tie in the granite, and a regular can of white latex paint that you buy off the shelf–I didn’t have it tinted. I also switched out the hardware. I had some bronze pulls on  hand and used those on the drawers and got white ceramic with aged brass for the knobs from Hobby Lobby for $2 each on sale.


IMG_3678I’m still waiting for Hobby Lobby to get 7 more knobs in–so I put some spares on for now.


IMG_3685I had the rattan shade that I bought 3 years ago on clearance and had never installed. It went perfectly and tied in the granite and gave the kitchen some texture. My 14 yr old son helped me hang it in 30 seconds–why did I wait 3 years???
IMG_3692I LOVE the knobs!! They pull the white uppers together with the grey lower cabinets…


IMG_3697Used a mini foam roller and did 2 coats of semigloss paint on all the cabinets and then followed up with 2 coats of clear satin Minwax poly.


IMG_3707At first I felt like this makeover was going to be a compromise–trying to make it work with the granite and backsplash. I didn’t think it would be 100% what I wanted, but it would be better than what it was. Now that it’s done, I couldn’t be happier–I don’t feel like it’s a compromise at all. I LOVE IT!!!


IMG_3710Painting the backsplash worked out great! I just used the same white semigloss cabinet paint. Did 2 coats and then did 2 coats of clear satin Minwax brand polyurethane.
IMG_3714Now I feel like the kitchen goes with the rest of my house!


IMG_3719

IMG_3722

Total makeover cost

$44–2 gallons of paint (grey was Valspar “Catch of the Day”)
$52- 1 gallon Minwax clear satin Polyeurethene
$35 misc. painting supplies and clear caulking for backsplash
$42- new knobs
$173 total for Painted kitchen cabinets and backsplash makeover plus 25 hours of my time–TOTALLY worth it!

Filed Under: decorating, room makeover, saving money

Henrie Family Room Makeover

July 21, 2014 by Shelley

The Henrie’s live next to my sister, and her name happens to be Camille (not to be confused with my Camille), so I will call her Camille H.  She emailed me some photos of her space and through text and email over the next few weeks, she did most of the work–Painted, picked up items off KSL (craigslist), planked her pantry door, stained her coffee table, planked another wall, hung the light fixtures, etc.

In the meantime I slipcovered her chair and ottoman and made some pillows. Then my Camille and I headed up to install and accessorize the small stuff. This is more of my Camille’s specialty than mine. I do the furniture and fabric stuff…so we compliment each other well. We always joke that we are each other’s other halves—

securedownload

Her Before wasn’t bad… it was just a bit dark and needed some small updates. We decided to get rid of the tan walls and do white paint with a slight grey tint.


securedownload

We wanted to clean it up and get rid of all the “stuff”, faux painting, and crackle paint, and vinyl.


securedownloadWe also wanted to rearrange a bit and move the TV and play with the furniture placement. Also the rug had seen it’s day!


IMG_3042
AFTER!! Camille H. has always loved white slipcovers, so we slipcovered her chair white and ditched her second chair that wouldn’t work well with a slipcover and replaced it with a $25 Thrift Store Rattan chair that had hunter green cushions. I recovered the cushions with the same white linen. We picked up 2 glass lamps at a yardsale for $10, and Camille H. found the coffee table off KSL for $40 and stained it a bit darker.
We decided the TV would look better on the wall next to the fireplace instead of above it. That way we’d have a nice focal wall to make pretty—since she didn’t have much wall space with all her windows and tall chair rail. So we need to have a spot to hang some stuff.

IMG_3023I found the AMAZING kitchen light fixture off KSL for $120–well worth the splurge! The pillow in the chair was from Target–which I put a zipper in and took out the polyfiber filling and inserted a down form. Down pillows look so much better over time than a polyfiber fill. Then we chose our other pillow fabrics from www.fabric.com.

IMG_2993Camille H. originally had a bench in her small entry way that took up too much space. I found this great piece on the local Vintage Facebook yardsale Page. It was $60, and the measurements were PERFECT! Only 10″ deep…so we went for it. Plus is was another opportunity to create visual interest with accessories. We reused some stuff from around the house and a few small trinkets (glass and wire basket) that I picked up for $1-$2 at the Thrift Store.
IMG_3016

We love using old books and mixing old with new.


IMG_3002

How beautiful is the back of this chair!!! I hovered nearby while another lady was looking at this chair at the thriftstore–she was taking pics and called someone about it. As soon as she walked away to debate the purchase, I moved in…

IMG_3005

Camille H. found a few great empty large frames at a garage sale for $5-$10 each. We were able to use the large one above the mantel with a wreath she had made awhile ago. We also got the Jute rug from www.rugsusa.com for $170 (8×10).

IMG_3008


IMG_3013


IMG_3015


IMG_3024

This wire basket was also a garage sale find for $5! I wanted to steal it!

IMG_3037


IMG_3059

IMG_3069

IMG_3077


securedownload

Camille H.’s couch was picked up used a few years ago and it was looking worn. She got some shoe polish and spruced it up! Such a great idea!!

securedownload


securedownload


securedownload

Camille H. also decided to plank her pantry door with 1/4″ plywood that she ripped in the table saw in 4″ strips. She thought it would be easier to plank than to strip and sand the crackle door—I agreed! Turned out AMAZING! Somehow I didn’t get an after shot of it with the faux painting covered up.

Filed Under: chair, decorating, room makeover, white linen

  • « Previous Page
  • 1
  • 2
  • 3
  • 4
  • 5
  • Next Page »
  • 
  • 
  • 
  • 
  • 
  • 

Copyright © 2025 · Custom Slipcovers by Shelley